Repair and care guide
Learn to love the clothes you own.

Nitto aims to be slow fashion.
Our products are handcrafted to last over time. We created an online Repair and Care Kit to make our items of clothing last as long as possible.
Don’t buy a new one, fix it.
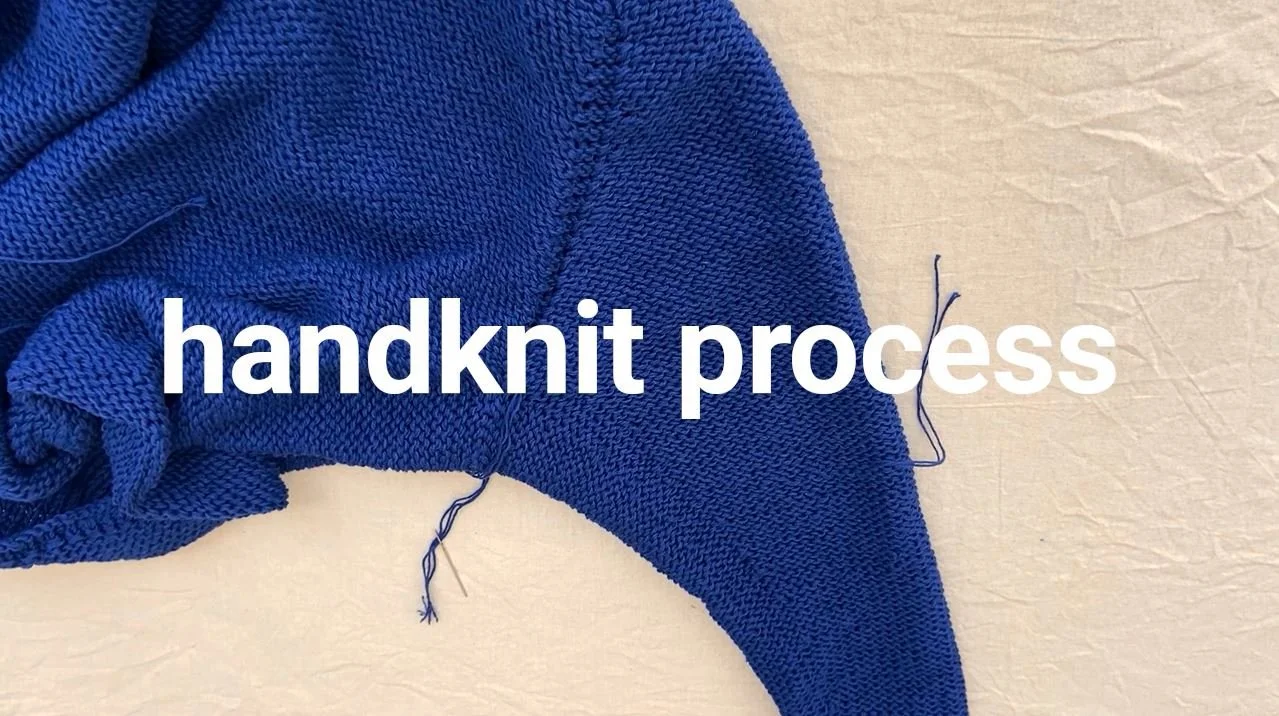
Handknit Process
A Nitto piece is entirely handmade. At the end of the process, it may present some “junction” yarn that comes out. In the finishing phase, these yarns are hidden by hand in the weft of the sweater itself with the help of a needle.
Watch the video below for detailed instruction.

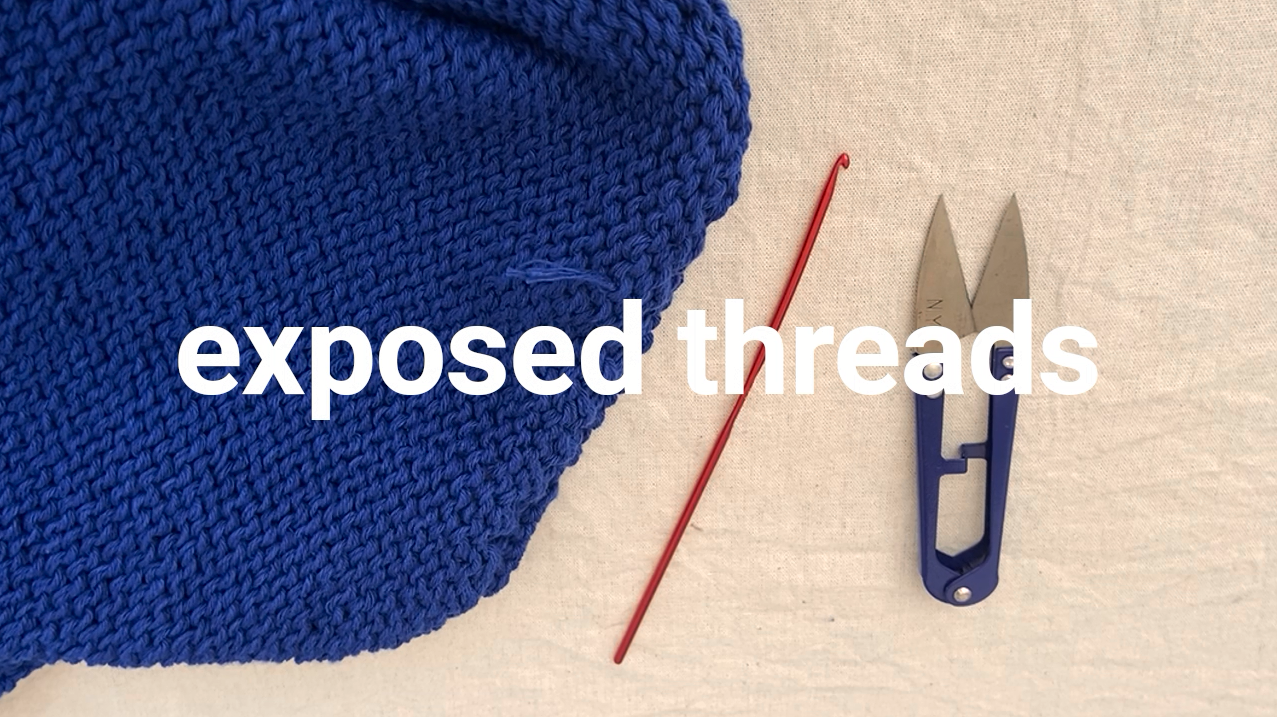
Exposed Threads
It may happen that some junction threads come out after using the sweater and washing several times. You can hide the exposed threads in your Nitto-piece with a thread scissor or with a crochet hook.
Watch the video below for detailed instruction.
Relaxed Stitches
The pieces are entirely made with a circular and seamless technique. It may happen that points of “tension” are created in which the plot widens, appearing more holed, they are not real holes. You can easily fix and improve the appearance with the help of a wool needle. The knit is elastic and the thread is continuous.
Watch the video below for detailed instruction.


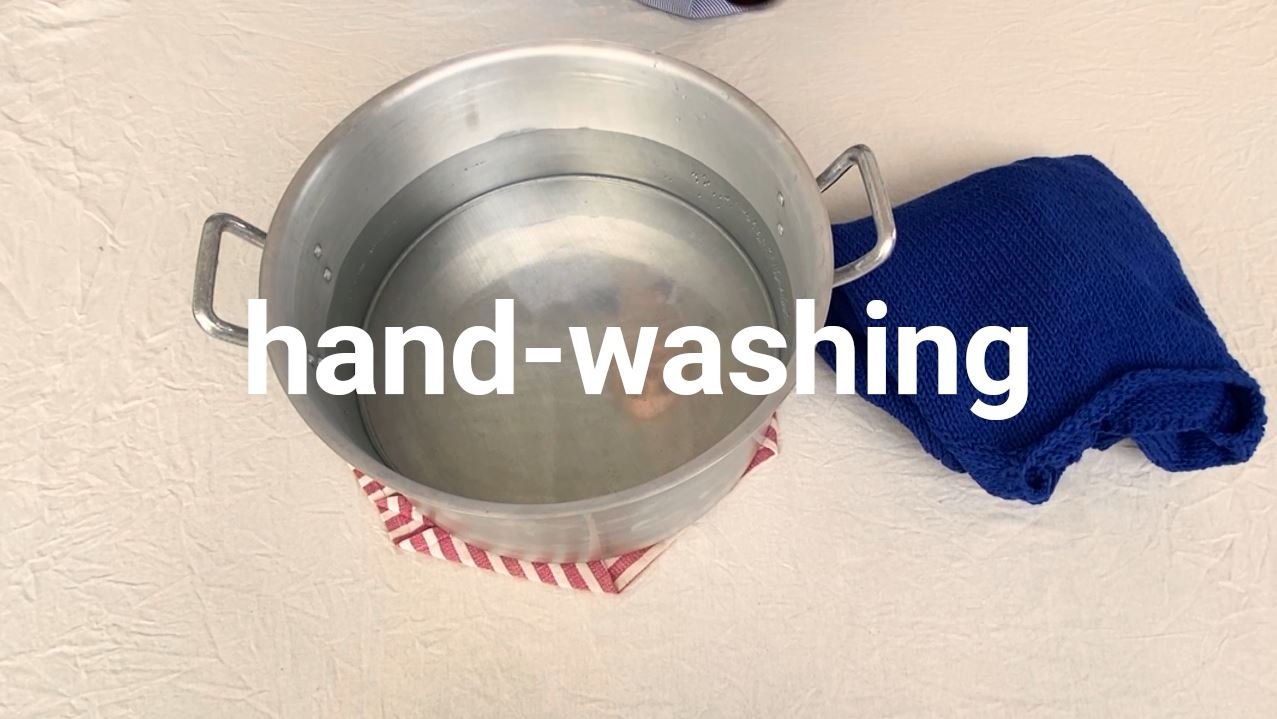
Hand-washing
Fill a bucket with cold water, and add a spoon of shampoo. Dip your sweater, move it in the water and let it soak for 20 minutes. If there is a particular stain, treat it delicately only with water and Marseille soap. Change the water several times until any soap residue has disappeared. The water must become transparent.
Watch the video below for detailed instruction.

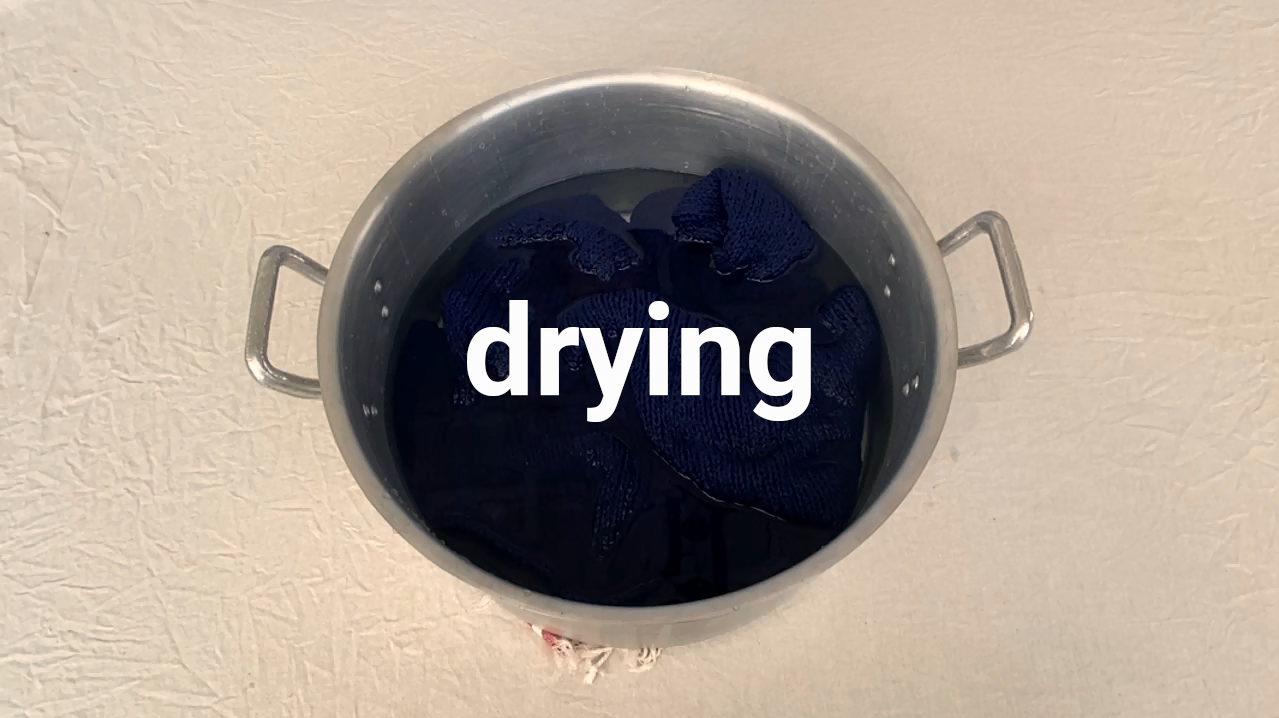
Drying
Remove excess water. Avoid squeezing and twisting the knit too much. Place your Nitto-sweater on a clean towel, and roll it up on itself.
Then, let it dry completely on a horizontal surface.
Watch the video below for detailed instruction.